Decadent Tiramisu Donuts: Your Ultimate Guide to Coffee-Infused Fried Dough Perfection
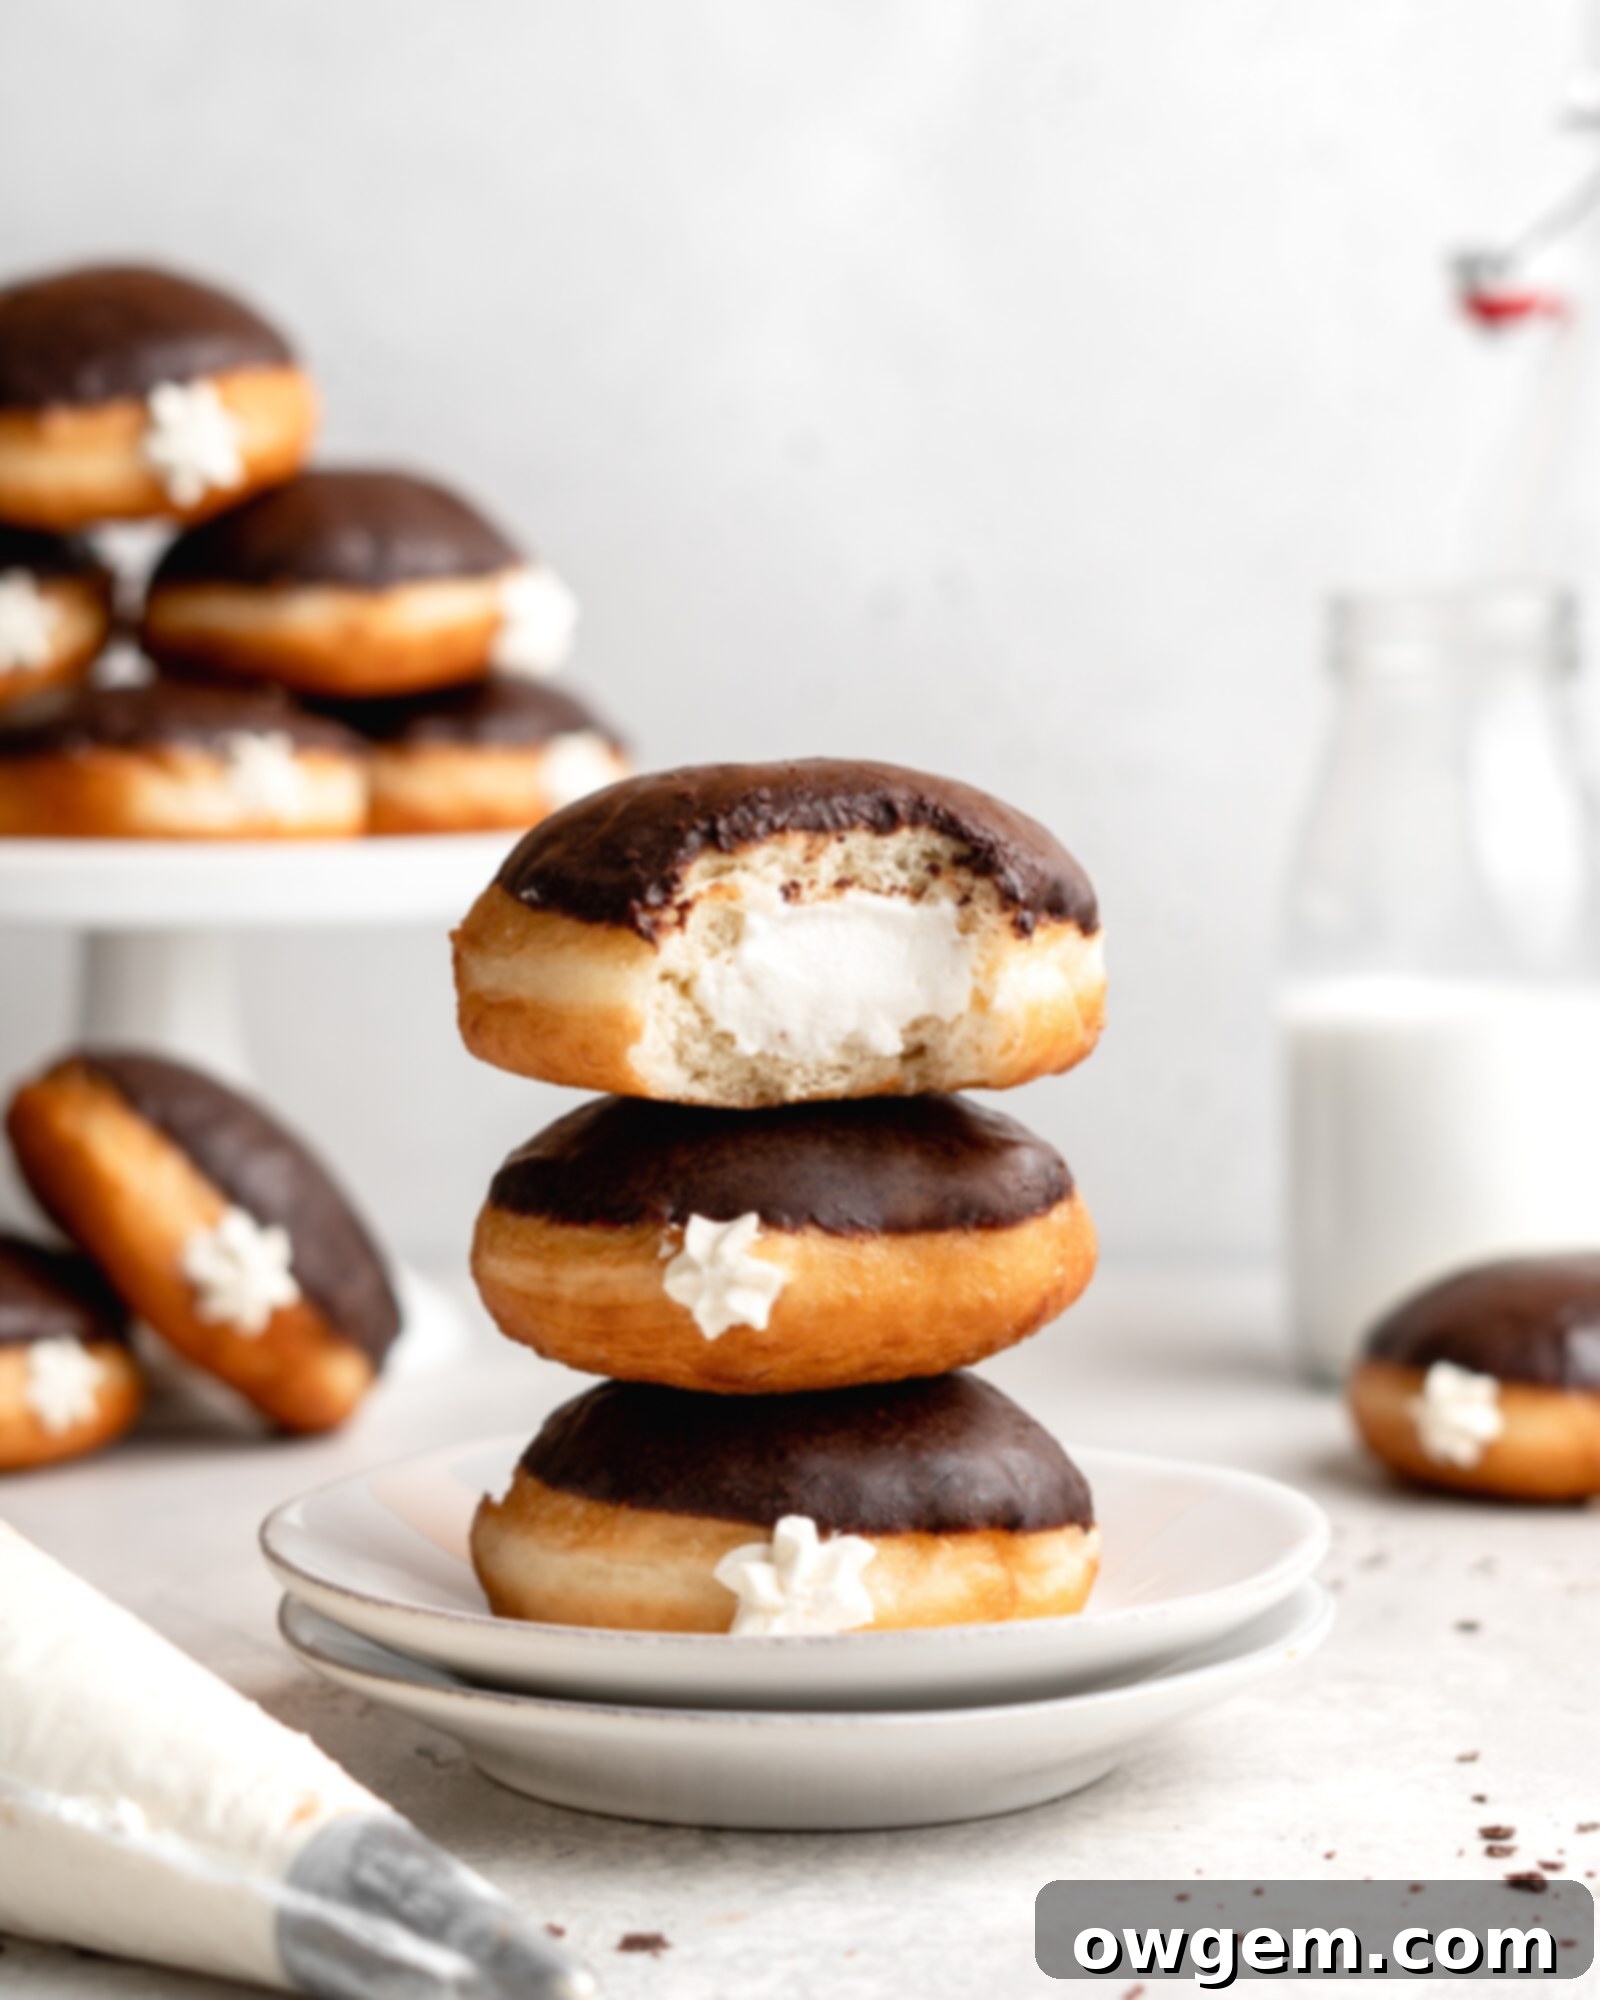
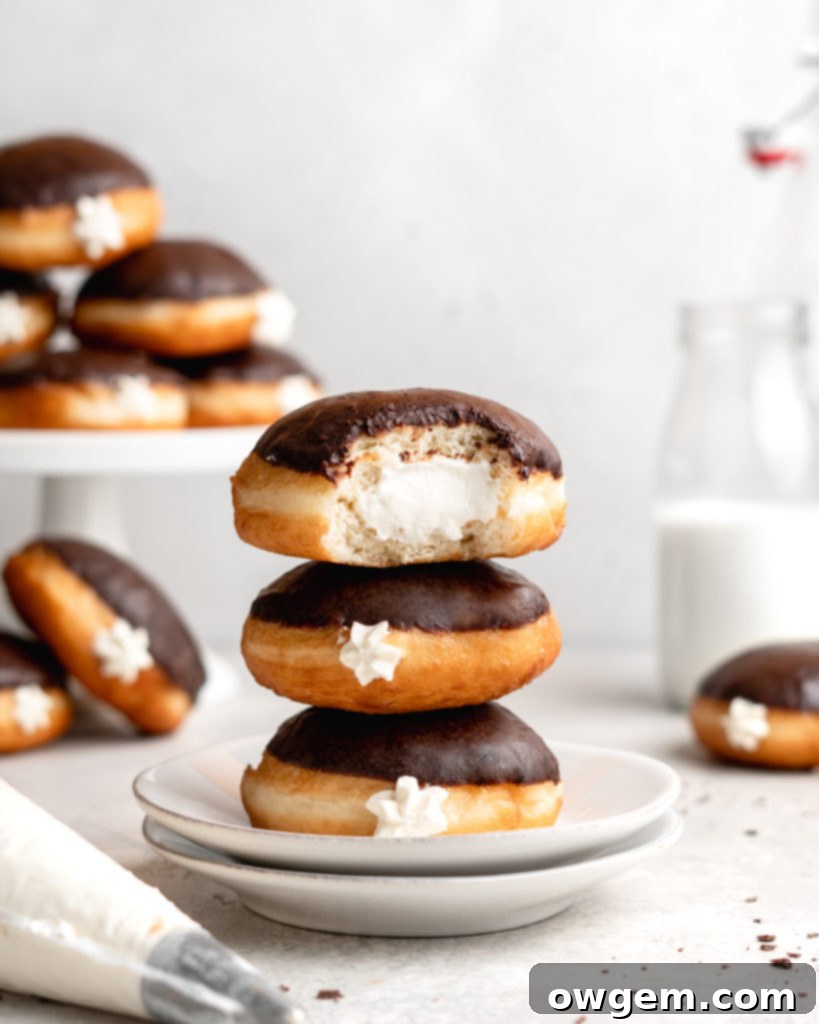
Prepare to elevate your dessert game with these irresistible Tiramisu Donuts, a delightful fusion that brings together the beloved characteristics of the classic Italian tiramisu and the comforting indulgence of a freshly fried donut. This unique recipe guides you through creating golden, fluffy donuts, generously filled with a velvety mascarpone whipped cream lightly infused with Kahlua for that signature coffee kick. Each donut is then lovingly dipped in a rich, easy-to-make espresso chocolate glaze, promising a culinary experience that’s both familiar and exciting. Whether you’re a seasoned baker or new to donut making, this comprehensive guide ensures every step is clear, resulting in a batch of tiramisu donuts that will impress and satisfy every sweet craving.
Crafting the Perfect Donut Dough: The Foundation of Flavor
The journey to incredible Tiramisu Donuts begins with a well-made dough. Just like with most bread doughs, a stand mixer equipped with a dough hook attachment is truly a kitchen savior, making the kneading process effortless and efficient. Start by “blooming” your yeast in warm water (ideally around 105°F or 40°C). This crucial step ensures your yeast is active and ready to give your donuts that desired light and airy texture. After about 5-10 minutes, you should observe a foamy layer on the surface, indicating the yeast is alive and well.
Once your yeast is bloomed, pour it into the stand mixer bowl. Follow with the melted (but not hot) butter, a lightly beaten egg, room temperature buttermilk, and sugar. Whisk these wet ingredients together thoroughly until they are well combined. In a separate bowl, whisk your all-purpose flour and salt to ensure even distribution. Gradually add the dry ingredients to the wet mixture in the stand mixer. Initially, mix with a sturdy wooden spoon until a shaggy, somewhat sticky dough forms. This pre-mixing helps prevent flour from flying everywhere when you start the machine.
Now, attach the dough hook to your stand mixer and begin kneading on a medium-low speed. Continue to mix for approximately 5-10 minutes. During this time, the dough will transform from a shaggy mess into a smooth, elastic, and slightly shiny mass. It should still be tacky to the touch, but it shouldn’t stick excessively to your fingers. This kneading process is vital for developing the gluten structure, which gives the donuts their chewiness and helps them hold their shape. Proper gluten development is key to achieving that perfect donut texture. If the dough seems too sticky, add a very small amount of flour, a teaspoon at a time. If it’s too dry, a tiny splash of buttermilk can help.
Once kneaded to perfection, transfer the dough to a generously oiled large bowl. Turn the dough over once to ensure it’s coated in oil, preventing it from drying out. Cover the bowl tightly with plastic wrap or a clean kitchen towel and place it in a warm, draft-free spot for its initial rise. This rising period is often referred to as the “bulk fermentation” and can take anywhere from 1 to 3 hours, depending on the warmth of your environment and the activity of your yeast. The most important indicator that your dough is ready is that it has visibly doubled in size. For many, this takes approximately 2 hours. A warmer spot (like a slightly warm oven that’s turned off, or near a sunny window) can speed up the process, while a cooler environment will slow it down. Patience here is a virtue, as a good first rise leads to light, airy donuts.

Proofing and Cutting Your Tiramisu Donuts: Precision for Perfection
After the initial glorious rise, it’s time to prepare your donut dough for its final form. Gently remove the plastic wrap from the bowl and, with a soft fist, punch down the dough to release the accumulated gases. This step helps redistribute the yeast and creates a more even texture. Turn the deflated dough out onto a lightly floured work surface. Using a rolling pin, carefully roll the dough out to an even thickness of approximately ½ inch. Consistency in thickness is important for uniform cooking.
Now, grab a large round cookie cutter – a 3-inch (7.5 cm) cutter is ideal for substantial, satisfying donuts. Begin cutting out your Tiramisu Donuts. Remember, these are filled donuts, so they are designed *without* holes! This recipe typically yields about 10-12 beautiful, round donuts from one batch of dough. Re-roll any scraps gently, being careful not to overwork the dough, and cut out additional donuts until all the dough is used.
Next up is the crucial second rise, or proofing. Carefully transfer your cut-out Tiramisu Donuts onto two parchment-lined baking sheets. Using two baking sheets ensures there’s ample space between each donut, allowing them to expand without touching. A clever trick that greatly simplifies handling is to cut individual parchment squares, about 5×5 inches (12×12 cm), and place each donut on its own square. This makes transferring the delicate, proofed donuts to the hot oil much easier without deflating them.
The final proofing requires a warm and, importantly, humid environment. Humidity is essential to prevent the donut dough from forming a dry “skin” on its surface, which can lead to large, undesirable air pockets during frying. The ideal method for proofing is to place your baking sheets with the donuts onto the top and middle racks of your oven. On the bottom rack, place a baking pan filled with boiling water. Close the oven door, then turn your oven on to 350°F (175°C) for *exactly one minute*, and immediately turn it off. This brief burst of heat gently warms the oven and creates a steamy, humid atmosphere without actually baking the donuts. Alternatively, if your oven has a “bread proof” function, use that. Let the donuts proof in this warm, humid environment for about 20 minutes. While they proof, this is the perfect time to start heating your frying oil, ensuring everything is ready for the next exciting step.
Frying Your Tiramisu Donuts to Golden Perfection
Once your Tiramisu Donuts have completed their second rise and look beautifully puffed up, and your frying oil has reached the optimal temperature of 350°F – 375°F (175°C – 190°C), it’s time for the moment of truth: frying! Using a deep-fry thermometer is highly recommended for accuracy, as maintaining the correct oil temperature is paramount for perfectly cooked donuts – too cold, and they’ll be greasy; too hot, and they’ll burn outside while being raw inside.
Carefully pick up each donut from the baking sheet. If you used the parchment squares, you can gently lower the donut *with* the parchment into the hot oil. The parchment will easily detach from the donut in the oil and can then be fished out with tongs. Be gentle when handling the proofed donuts; excessive force can deflate them, ruining their light texture. I typically fry 4-5 donuts at a time, depending on the size of my pot, to prevent overcrowding. Overcrowding lowers the oil temperature, leading to greasy donuts. It’s a good practice to keep the un-fried donuts in the warm, humid oven (turned off) while frying in batches to maintain their proof.
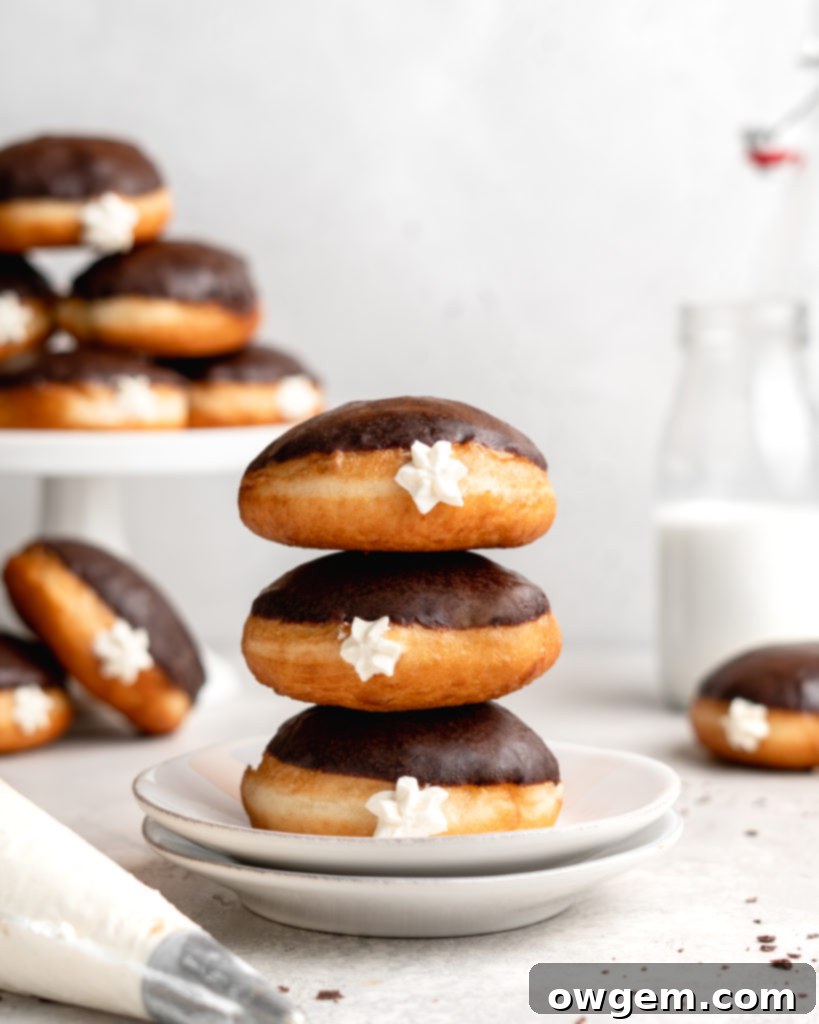
Fry each side for about 1 to 1.5 minutes, or until it achieves a beautiful, even golden-brown color. Use a spider or tongs to carefully flip the donuts, ensuring even cooking. Once golden on both sides, remove the Tiramisu Donuts from the oil. Allow excess oil to drip off for a moment, then place them onto a cooling rack positioned over a few layers of paper towels. The paper towels will absorb any remaining oil, ensuring your donuts are light and not greasy. Let the donuts cool completely to room temperature before moving on to the filling and glazing steps. This cooling period is important, as hot donuts can melt the filling and glaze.
Filling the Tiramisu Donuts: The Creamy Heart of the Dessert
Once your perfectly fried donuts have cooled completely to room temperature, it’s time to infuse them with their decadent tiramisu flavor! The heart of these donuts is a luscious mascarpone whipped cream filling, which balances richness with a light, airy texture. To prepare the filling, ensure your heavy cream, mascarpone, and mixing bowl are all very cold. In a large bowl, combine cold heavy cream, confectioners’ sugar, and vanilla extract. Beat with an electric mixer on high speed until stiff peaks form – the cream should hold its shape firmly. Then, gently fold in the chilled mascarpone cheese and Kahlua (or another coffee liqueur for an alcohol-free option, a strong espresso shot can be used). Mix just until smooth and combined, being careful not to overbeat, as mascarpone can curdle if overworked. Keep the filling chilled until you’re ready to use it.
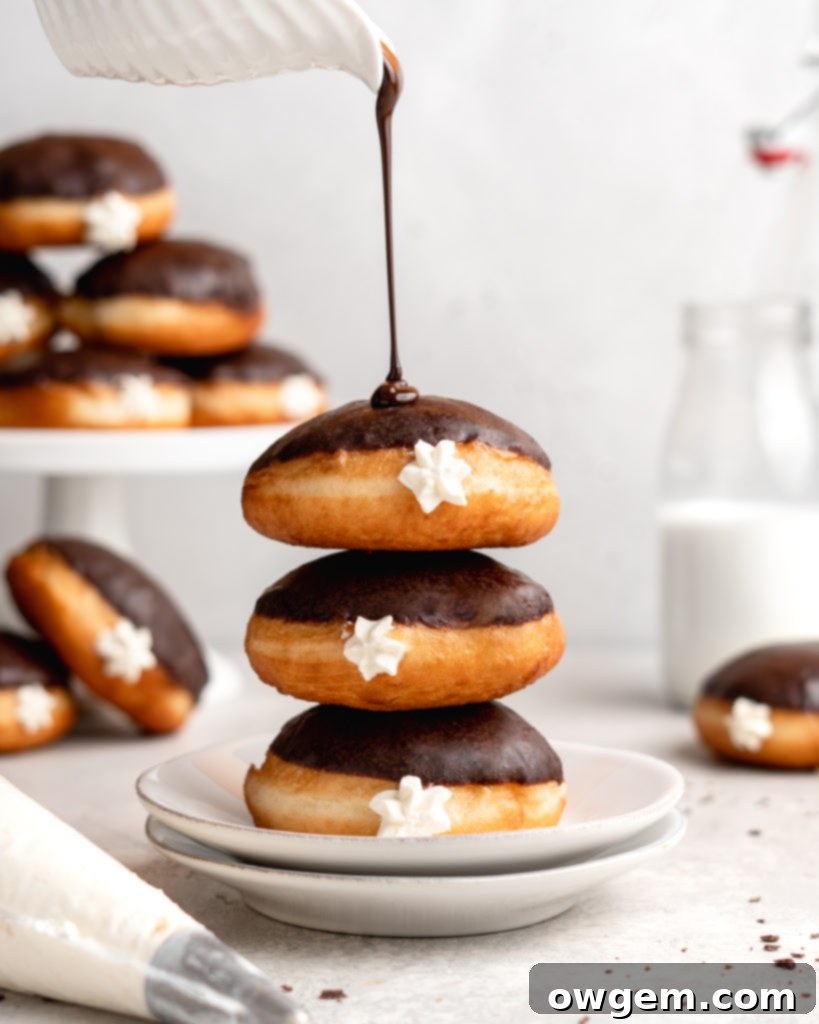
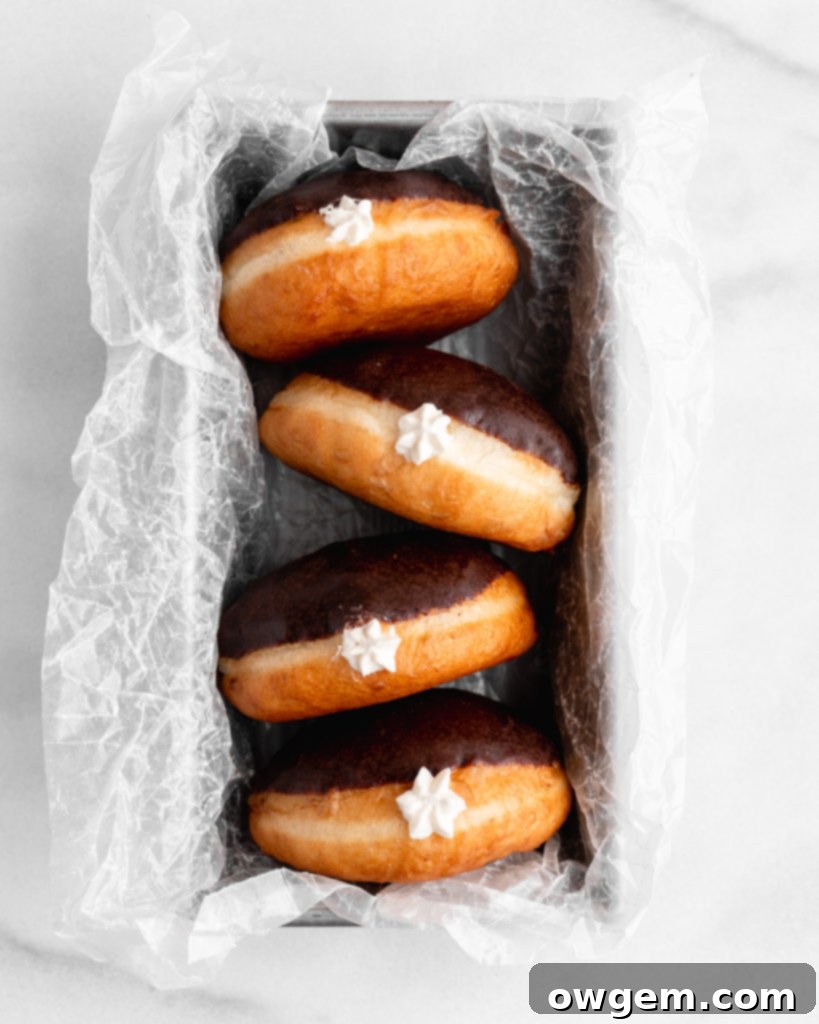
To fill the Tiramisu Donuts, transfer the creamy mascarpone filling into a piping bag fitted with a medium-sized round tip. This allows for precise and clean filling. Take a bamboo skewer (or a small, sharp knife) and insert it about halfway into the side of each donut. Gently wiggle the skewer around to create a small cavity or pocket inside the donut, making room for the filling. Now, insert the piping tip into this created pocket and steadily squeeze the tiramisu filling into the donut. You’ll feel the donut become heavier and slightly expand as it fills. Continue to pipe until you feel a slight resistance, or until a small amount of filling begins to peek out, indicating it’s full. Be careful not to overfill, as this can cause the donut to split. Finish each filled donut by dipping or drizzling it with the rich espresso chocolate glaze. The combination of the fluffy donut, creamy filling, and glossy glaze is absolutely heavenly.

The Espresso Chocolate Glaze: A Perfect Finishing Touch
No Tiramisu Donut would be complete without a luscious, coffee-infused topping. These delicious donuts are crowned with an espresso-spiked chocolate glaze that is surprisingly quick to make and requires only a few key ingredients. This glaze not only adds a beautiful glossy finish but also reinforces the rich coffee notes characteristic of tiramisu, making each bite a symphony of flavors and textures.
Mastering the Art of Melting Chocolate
Melting chocolate, while seemingly straightforward, can be finicky. It has a low tolerance for errors and can turn into a clumpy, seized disaster quite quickly if not handled correctly. The two biggest enemies of melting chocolate are moisture (any amount of water) and excessive heat. Overheating chocolate or heating it too rapidly will cause it to seize – a process where the cocoa solids separate from the cocoa butter, resulting in a thick, grainy, and unworkable texture. This is why, in this recipe, we opt for a controlled microwave method, utilizing a dry, heat-safe measuring cup and short bursts of heat with stirring in between.
Alternatively, a double boiler method is another excellent way to melt chocolate gently. To do this, place your finely chopped chocolate in a heatproof bowl set over a saucepan of simmering water (ensure the bottom of the bowl does not touch the water). The steam from the simmering water will gently and evenly melt the chocolate. Stir continuously until smooth. Whichever method you choose, remember that patience and attention to detail are key to achieving a perfectly smooth, glossy chocolate base for your glaze.
Crafting the Espresso Chocolate Glaze
To make the irresistible espresso chocolate glaze, begin by finely chopping your semi-sweet chocolate. Fine chopping allows the chocolate to melt more evenly and quickly. Place the chopped chocolate into a dry, microwave-safe pyrex measuring cup or bowl. Microwave on high for exactly one minute. Immediately remove the cup and stir the chocolate vigorously with a rubber spatula or spoon. Even if it doesn’t look fully melted, the residual heat will continue to melt the chocolate as you stir.
If the chocolate hasn’t completely melted and is still lumpy after the initial minute and stirring, return it to the microwave for additional 20-second intervals, stirring thoroughly after each interval, until the chocolate is smooth and completely melted. Be cautious not to overheat. Once the chocolate is beautifully melted and glossy, stir in the light corn syrup, espresso powder, and softened unsalted butter. The corn syrup provides a lovely shine and helps prevent the glaze from crystallizing. The espresso powder intensifies the coffee flavor, making it truly a “tiramisu” glaze. Continue stirring until the butter has fully melted and all ingredients are well combined, creating a smooth, rich, and fragrant glaze. Transfer the glaze to a wide-mouthed bowl, which makes dipping the donuts much easier. Dip the top of each filled donut into the glaze, allowing any excess to drip off. Place the glazed donuts back on the cooling rack and allow the glaze to set for 10-15 minutes before serving. This brief setting time ensures a neat, firm glaze that won’t smudge when handled. Enjoy these unique and delicious Tiramisu Donuts!
Get the Recipe:
Tiramisu Donuts
Pin
Rate
Ingredients
Tiramisu Donuts
- 6 tbsp Water,, warmed to 105°F
- 1 ½ tsp Instant Or Active Dry Yeast
- 2/3 cup Buttermilk,, at room temperature
- 1 Large Egg,, lightly beaten, at room temperature
- 1/4 cup Unsalted Butter,, melted (but not hot)
- 1/4 cup Sugar
- 454 g (1 lb) All-Purpose Flour
- 1 tsp Salt
- Shortening/oil for frying
Mascarpone Whipped Cream
- 1 cup Heavy Cream
- 6 tbsp Confectioners Sugar
- 1/2 tsp Vanilla
- 8 oz Mascarpone
- 2 tbsp Kahlua
Chocolate Glaze
- 135 g Semi-Sweet Chocolate,, finely chopped
- 3 tbsp Unsalted Butter,, at room temperature
- 3 tsp Light Corn Syrup
- 1 tsp Espresso Powder
Equipment
-
Stand mixer
Instructions
Making the Donut Dough
-
In a measuring cup, combine warm water (about 105°F) and yeast. Stir gently to combine, then let it sit for approximately 10 minutes until a foamy layer appears, indicating the yeast is active. Meanwhile, in a separate large bowl, whisk together the all-purpose flour and salt, then set aside.
-
Add the buttermilk (at room temperature), lightly beaten egg, melted (but not hot) butter, and sugar to the bowl of your stand mixer. Whisk these ingredients together until well combined. Pour in the bloomed yeast mixture and whisk again to fully incorporate. Add the dry flour and salt mixture to the stand mixer bowl, mixing initially with a wooden spoon until a shaggy dough forms.
-
Attach the dough hook to the stand mixer and knead on medium-low speed for about 5-10 minutes. The dough is ready when it is smooth, elastic, and still slightly tacky to the touch but no longer excessively sticky. This process develops the gluten for a perfectly textured donut.
-
Transfer the kneaded dough to a large, greased bowl, turning it once to coat. Cover the bowl tightly with plastic wrap and place it in a warm, draft-free area to rise for approximately two hours, or until the dough has doubled in size.
Cutting, Proofing, & Frying
-
Gently punch down the proofed dough to deflate it, then turn it out onto a lightly floured work surface. Roll the dough out to an even ½-inch thickness. Using a 3-inch round cookie cutter, cut out your donuts. Transfer the cut donuts onto two parchment-lined baking sheets, ensuring sufficient space between each for expansion during proofing. (Consider using individual parchment squares for easier handling).
-
For the second rise (proofing), place the baking sheets with donuts onto the top and middle racks of your oven. On the bottom rack, place a baking pan filled with boiling water. Close the oven door. Turn the oven on to 350°F (175°C) for exactly one minute, then immediately turn it off (this creates a warm, humid environment without actually baking). Let the donuts proof for about 20 minutes. Alternatively, use your oven’s ‘bread proof’ function if available.
-
Meanwhile, fill a large, wide pot (like a Dutch oven) halfway with shortening or oil. Heat the oil over medium-high heat until it reaches between 350°F and 375°F (175°C-190°C), using a deep-fry thermometer for accuracy. Carefully pick up the proofed donuts (being gentle to avoid deflating them) and place them into the hot oil. Fry for about 1.5 minutes per side, or until they turn a beautiful golden brown. Remove with a spider or tongs and place onto a paper towel-lined cooling rack to drain excess oil. Let them cool completely to room temperature.
Filling with Mascarpone Whipped Cream
-
In a large, chilled bowl, combine cold heavy cream, confectioners’ sugar, and vanilla. Beat with an electric mixer until stiff peaks have formed. Add the cold mascarpone and Kahlua (or a non-alcoholic coffee substitute), then continue to beat on low speed just until smooth and fully combined. Be careful not to overbeat, as mascarpone can curdle. Keep the filling chilled until ready to use.
-
Once the donuts have cooled completely, transfer the mascarpone whipped cream filling into a piping bag fitted with a medium-sized round tip. Insert a bamboo skewer (or small knife) about halfway into the side of each donut, wiggling it gently to create a pocket. Insert the piping bag tip into this pocket and squeeze the filling into the donut until it feels full and slightly resists further filling.
Espresso Chocolate Glaze
-
Place finely chopped semi-sweet chocolate into a dry, microwave-safe bowl. Microwave for 1 minute. Remove and stir thoroughly. If not completely melted, return to the microwave for additional 20-second intervals, stirring between each, until the chocolate is smooth and melted. Be careful not to overheat.
-
Once the chocolate is fully melted, add the room temperature butter, light corn syrup, and espresso powder. Stir vigorously until the butter has melted completely and all ingredients are well combined, resulting in a smooth and glossy glaze.
-
Transfer the glaze to a wide-mouthed bowl. Dip the top of each filled donut into the glaze, allowing any excess to drip off. Place the glazed donuts back onto the cooling rack and let the glaze set for 10-15 minutes before serving.
Source: Dough recipe adapted from Christina Cucina
